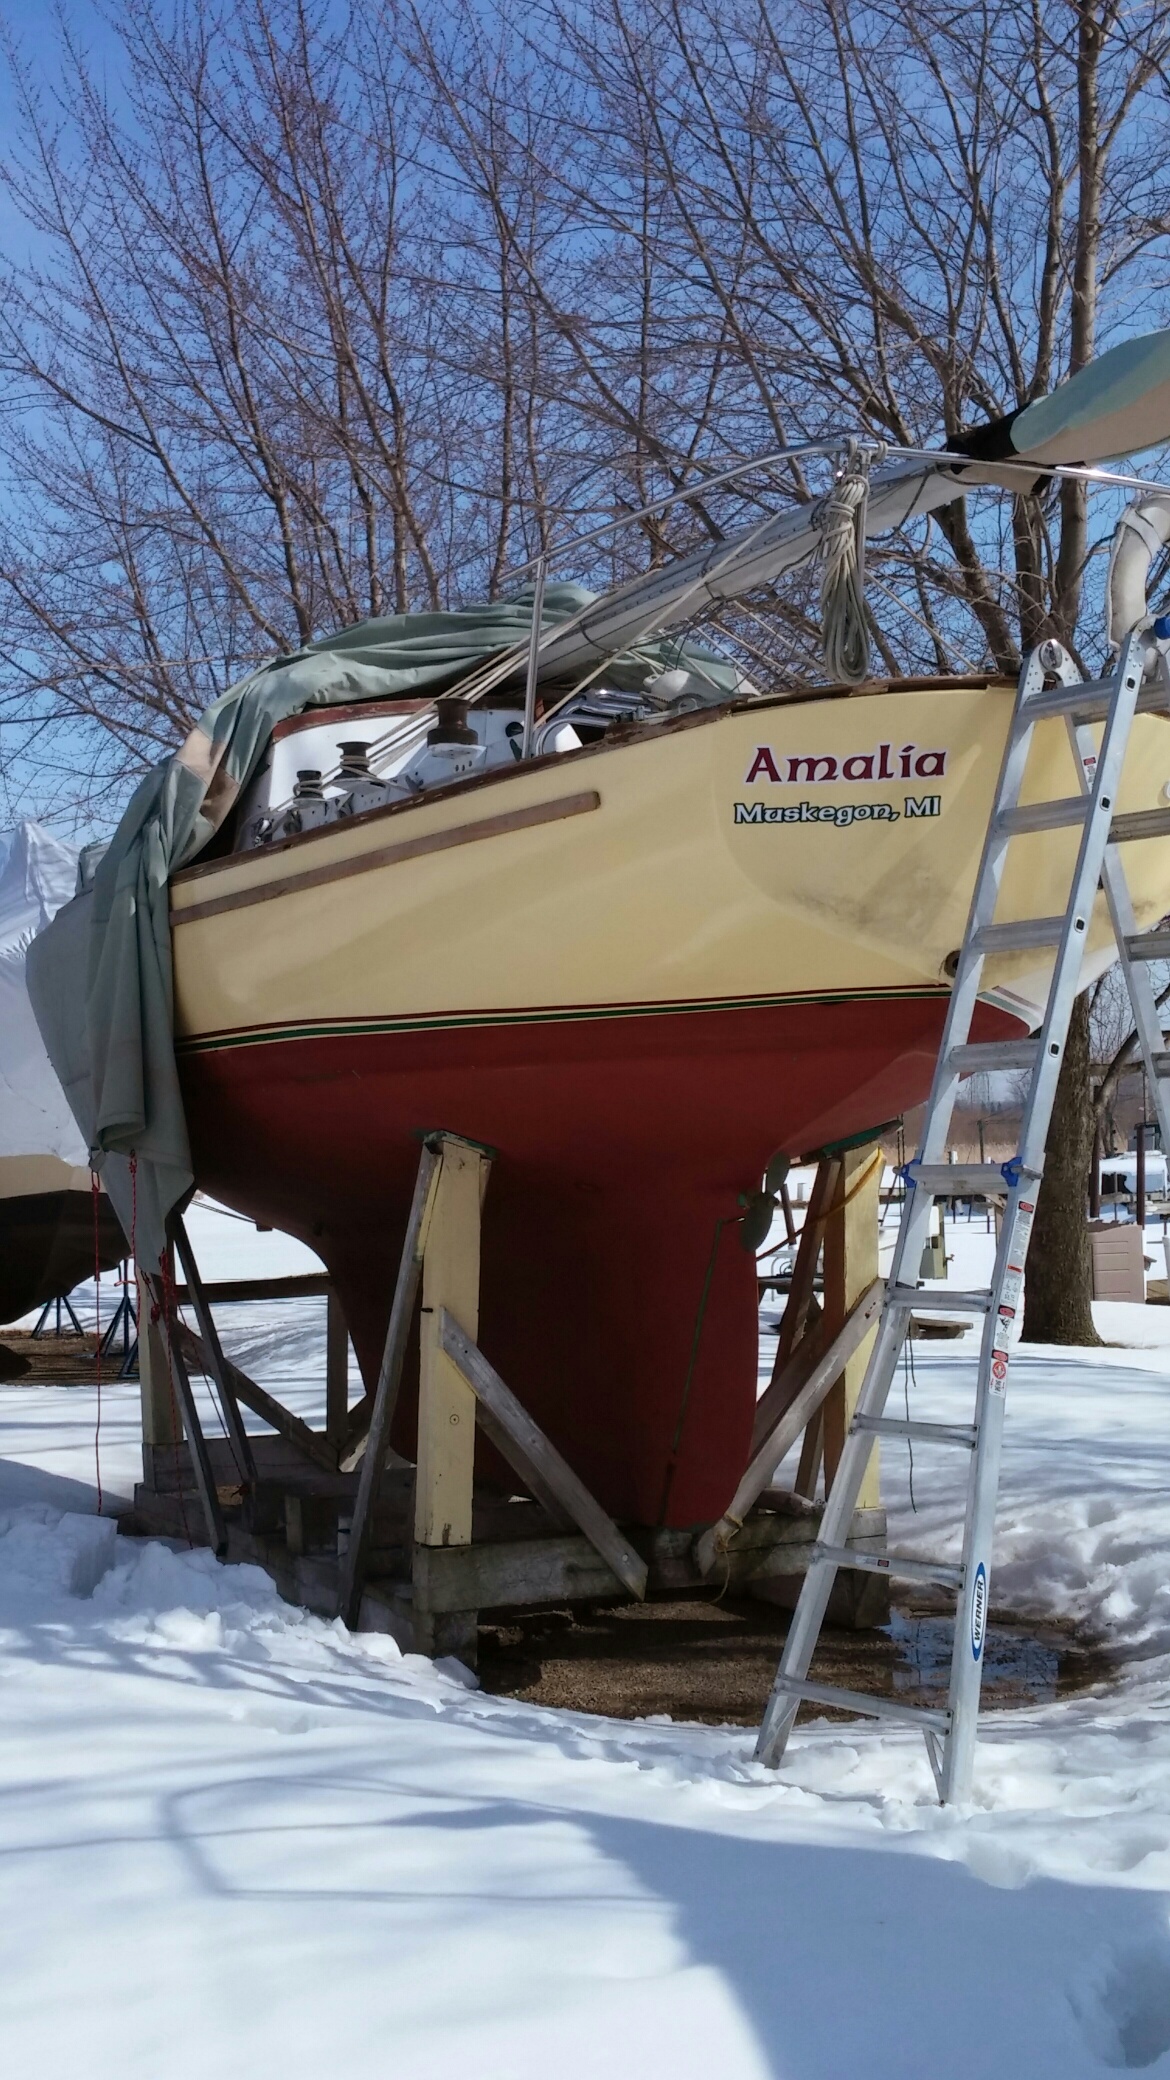
The Cal 30 was originally equipped with a 14′ boom with end-boom sheeting and a traveller that went across the aft area of the cockpit. Since a previous owner had modified the sail plan and shortened the foot by 4′, the sheeting is now through a cabin top winch and hard mount near the companionway (no traveller, no problem).
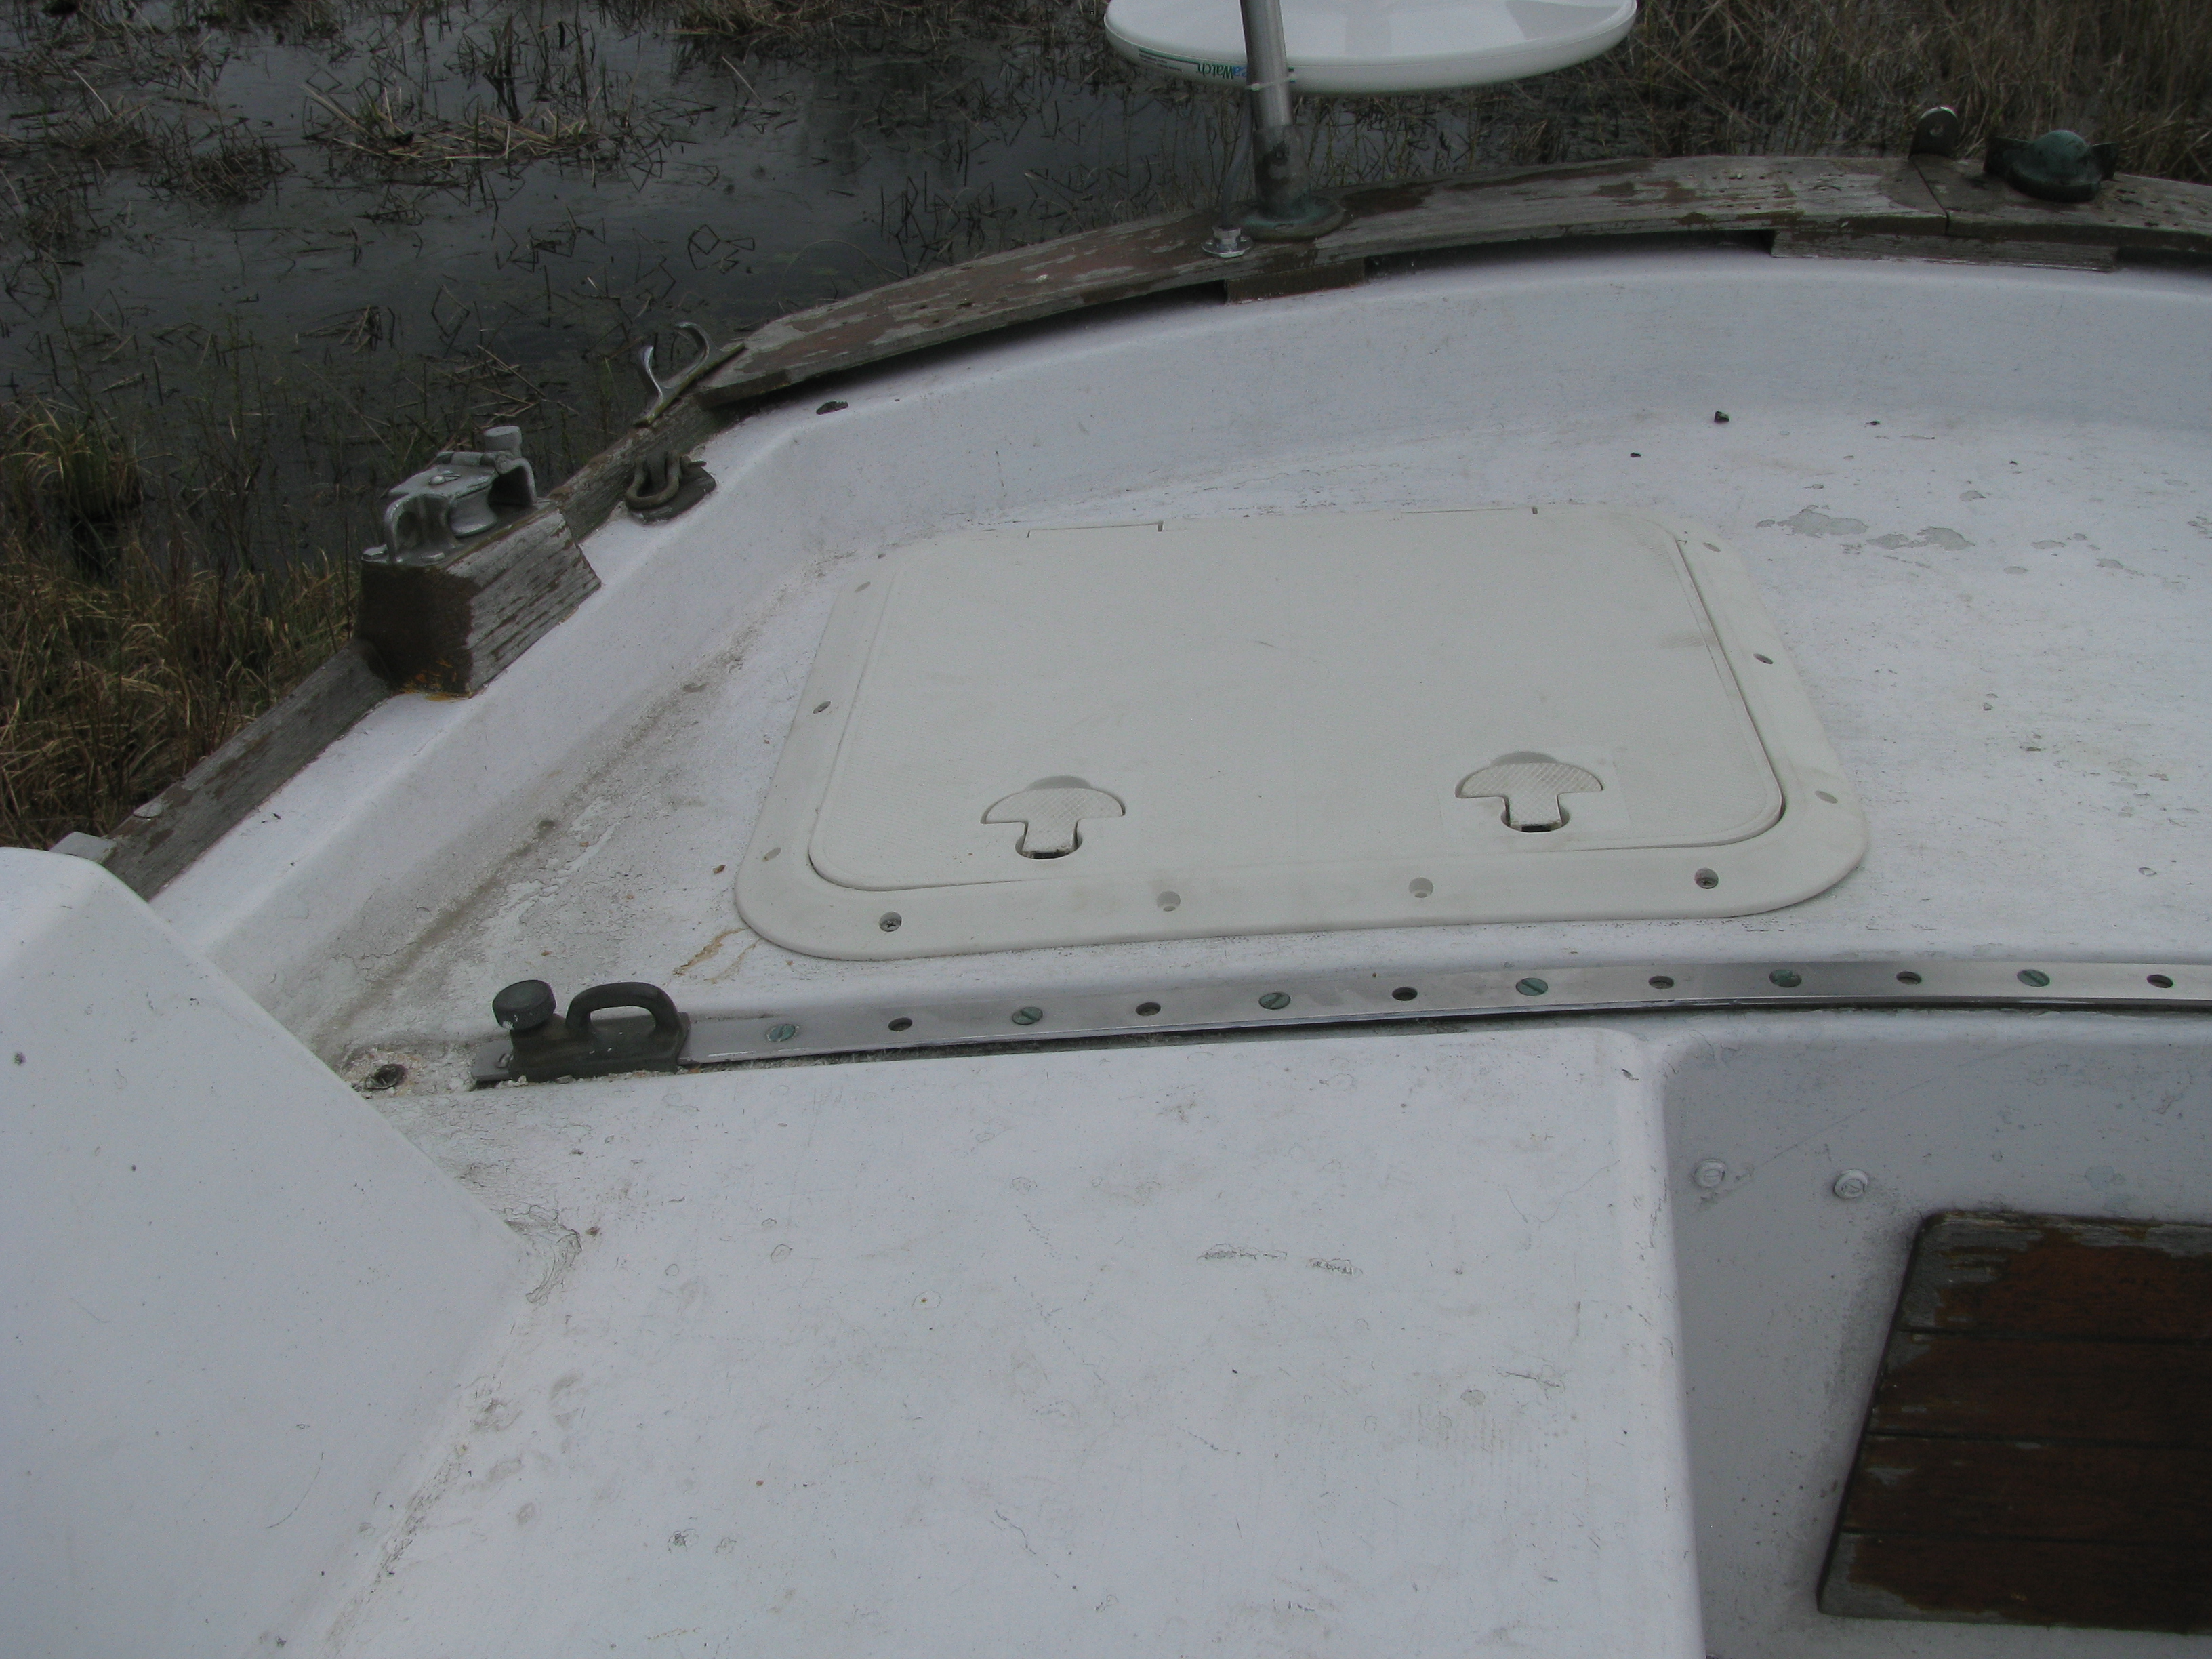
So the huge space at the stern of the boat was not really usable for anything but sunbathing; the interior space was functionally not available since the only way in was to:
- Chuck things through the tiny access behind the rudder and, when access was necessary, sticking one’s head (shoulders wouldn’t fit!) through and fumbling in the dark for whatever, or
- Crawl through the quarter berth on either side, nearly suffocate from squeezing through the tiny passage hole in the bulkhead and fumbling in the dark for whatever.
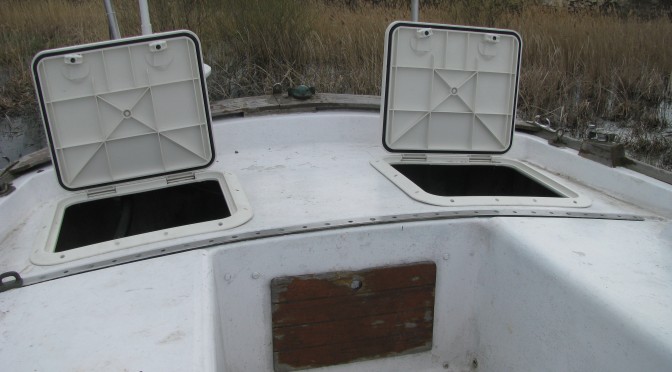
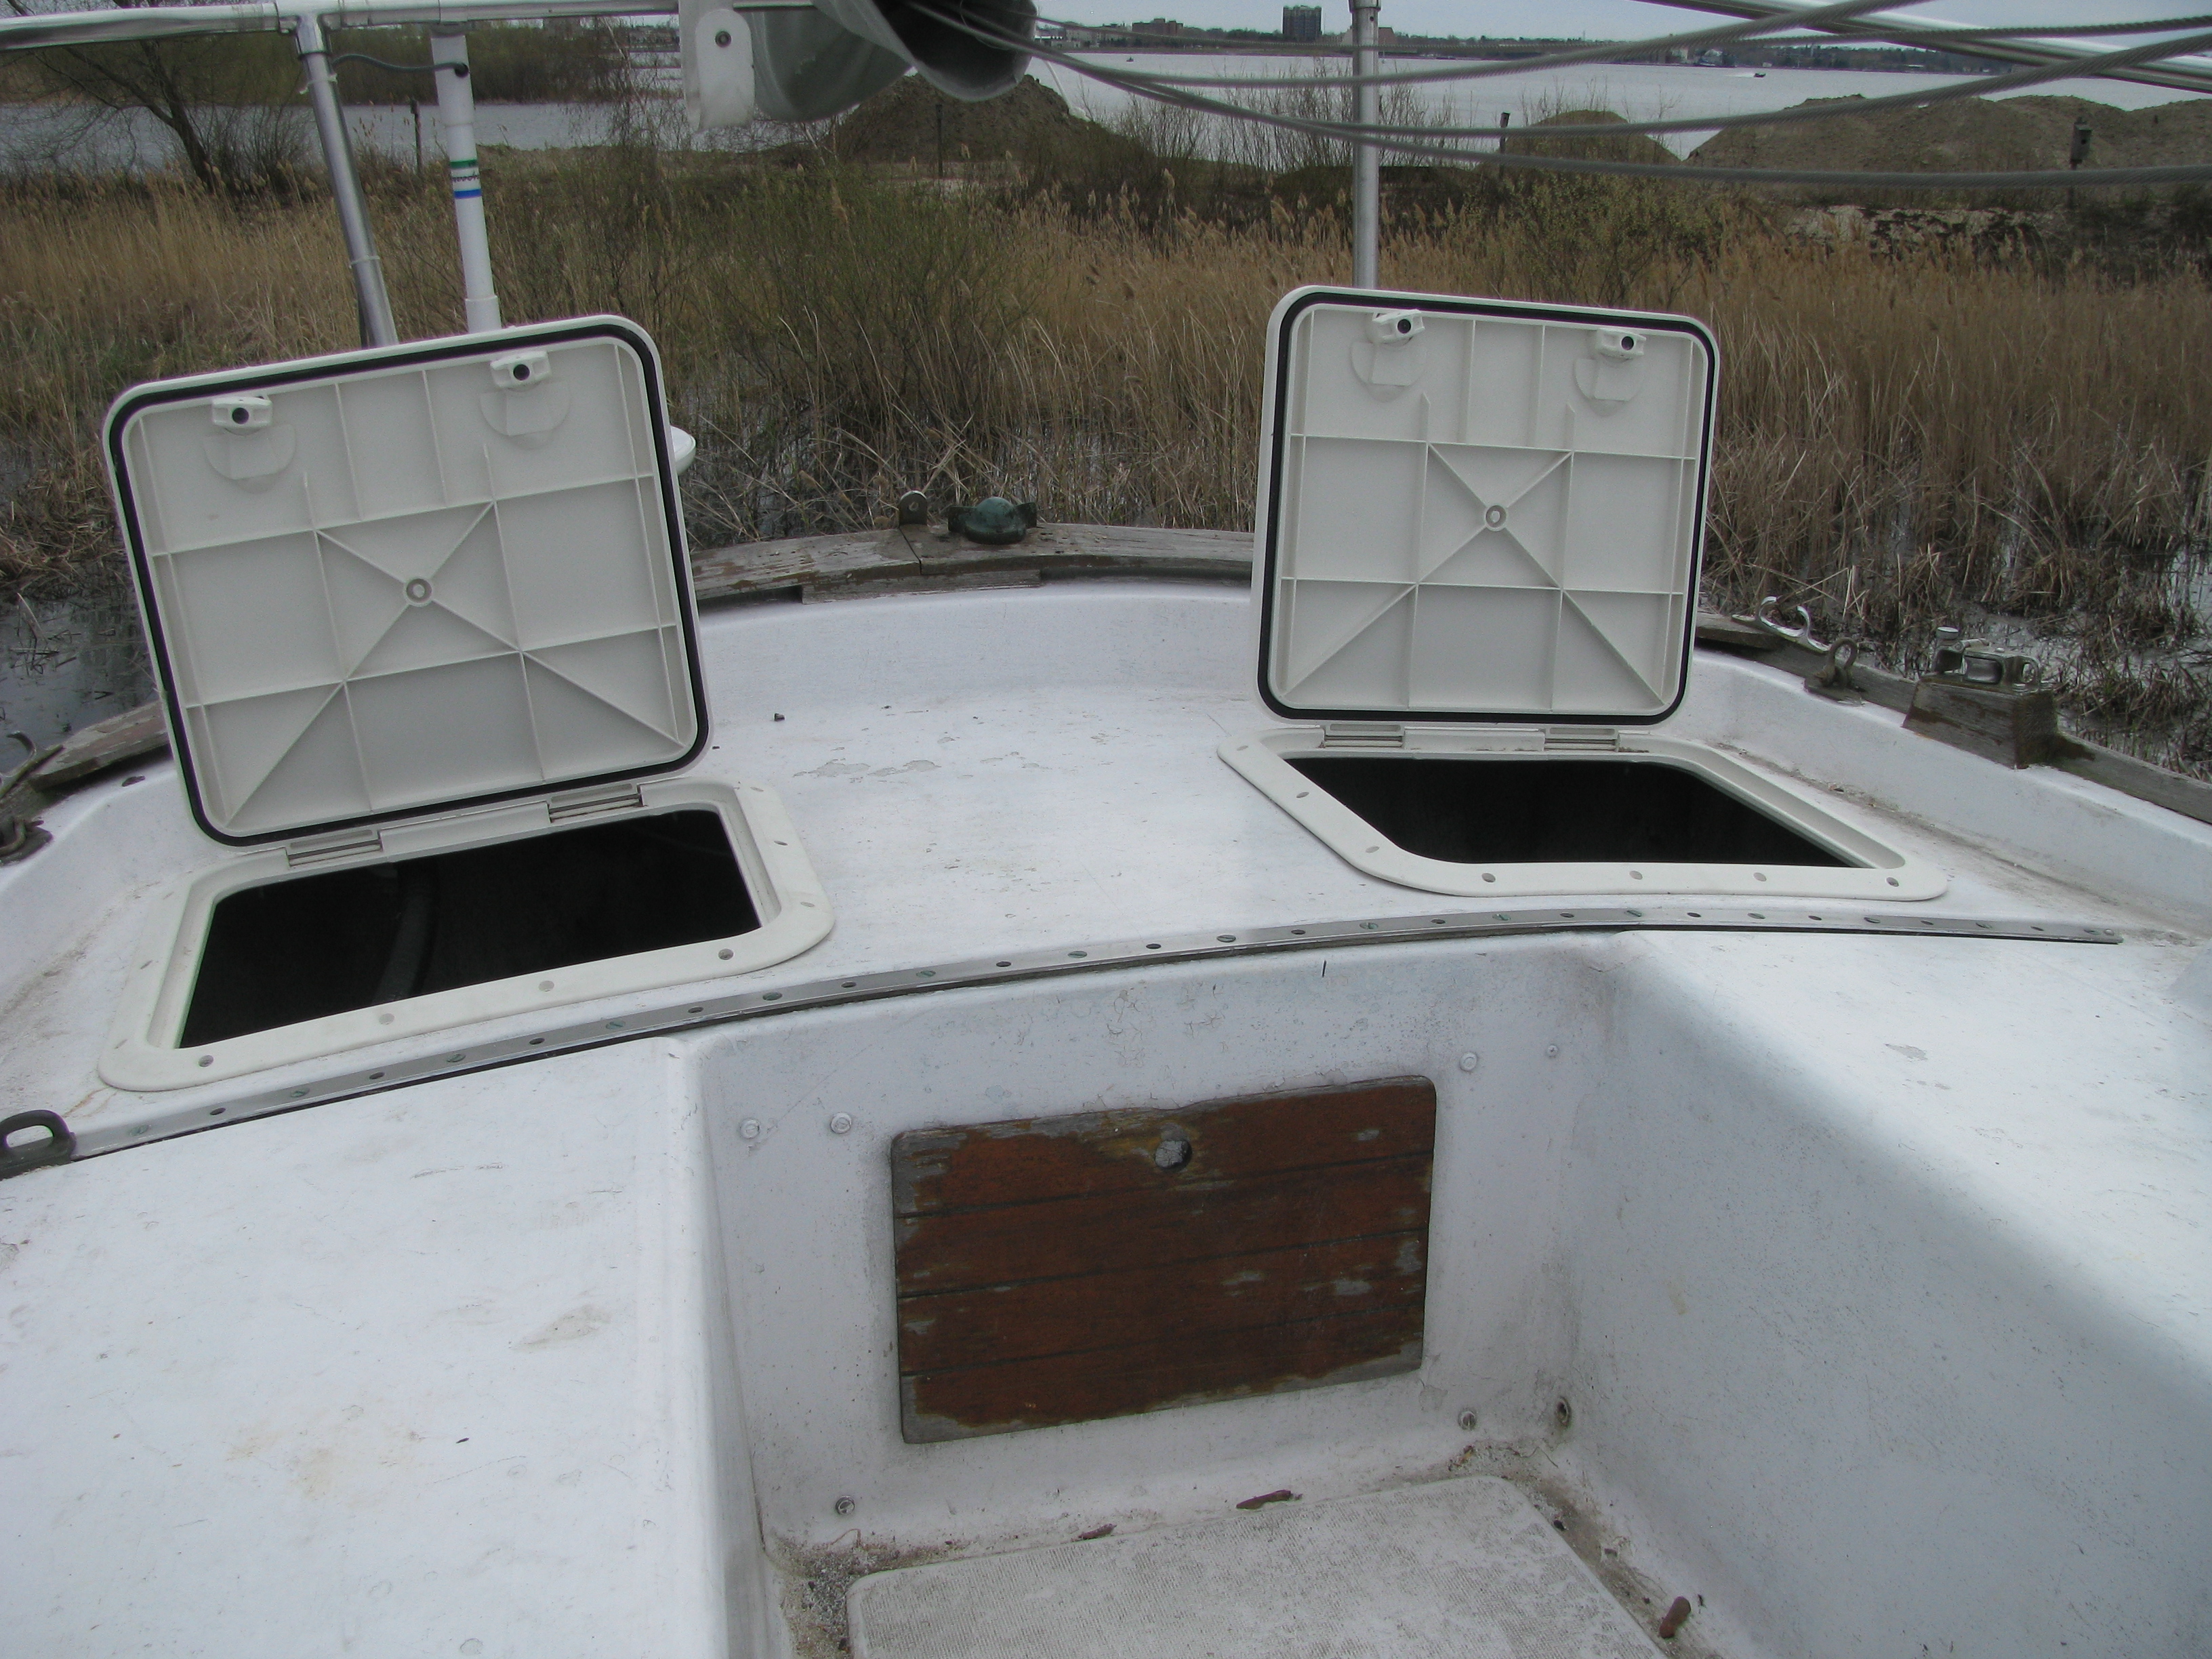
 The solution was to carefully measure, look at available Bowmar access hatch sizes, measure twice and cut two large holes in the afterdeck.The result was complete access to the stern of the boat for storage, wiring, plumbing or whatever. The hatches are large enough for me to open, step in and contort myself into working on nearly everything is the last 20% of the boat length.I installed them temporarily earlier and decided that this area would be the first for the complete makeover with shiny white smooth paint and white KiwiGrip on the nonskid area.
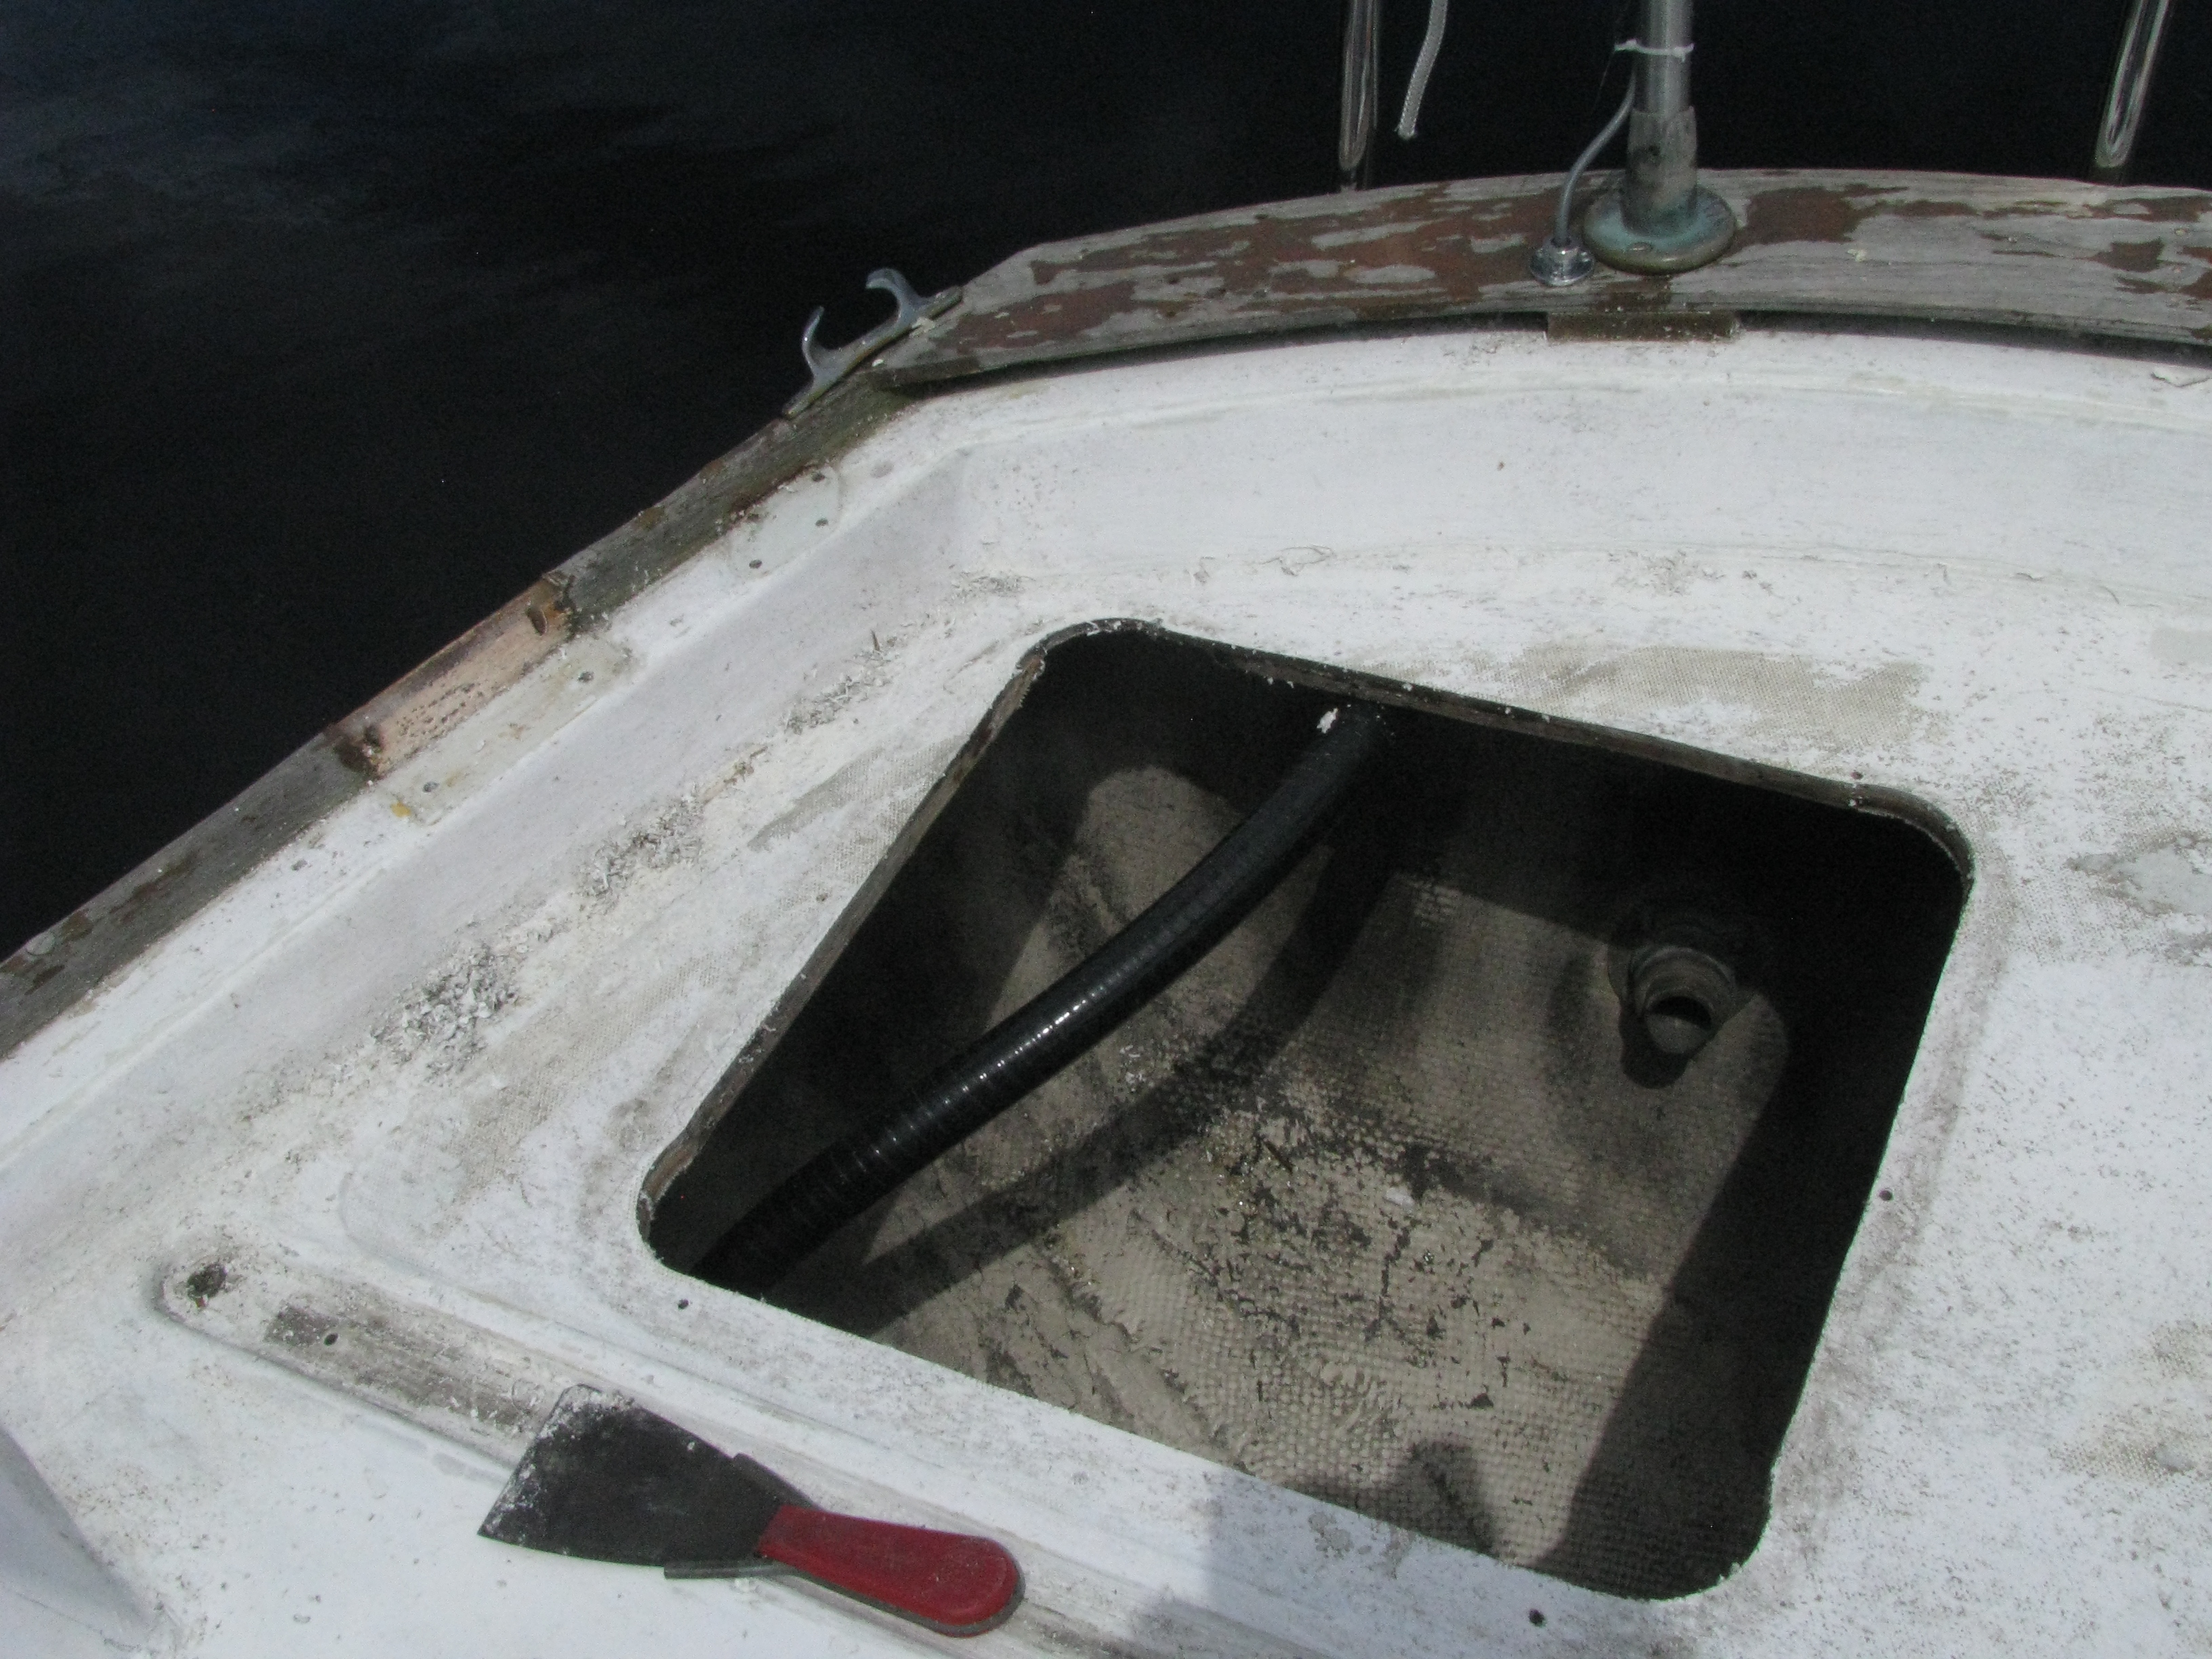
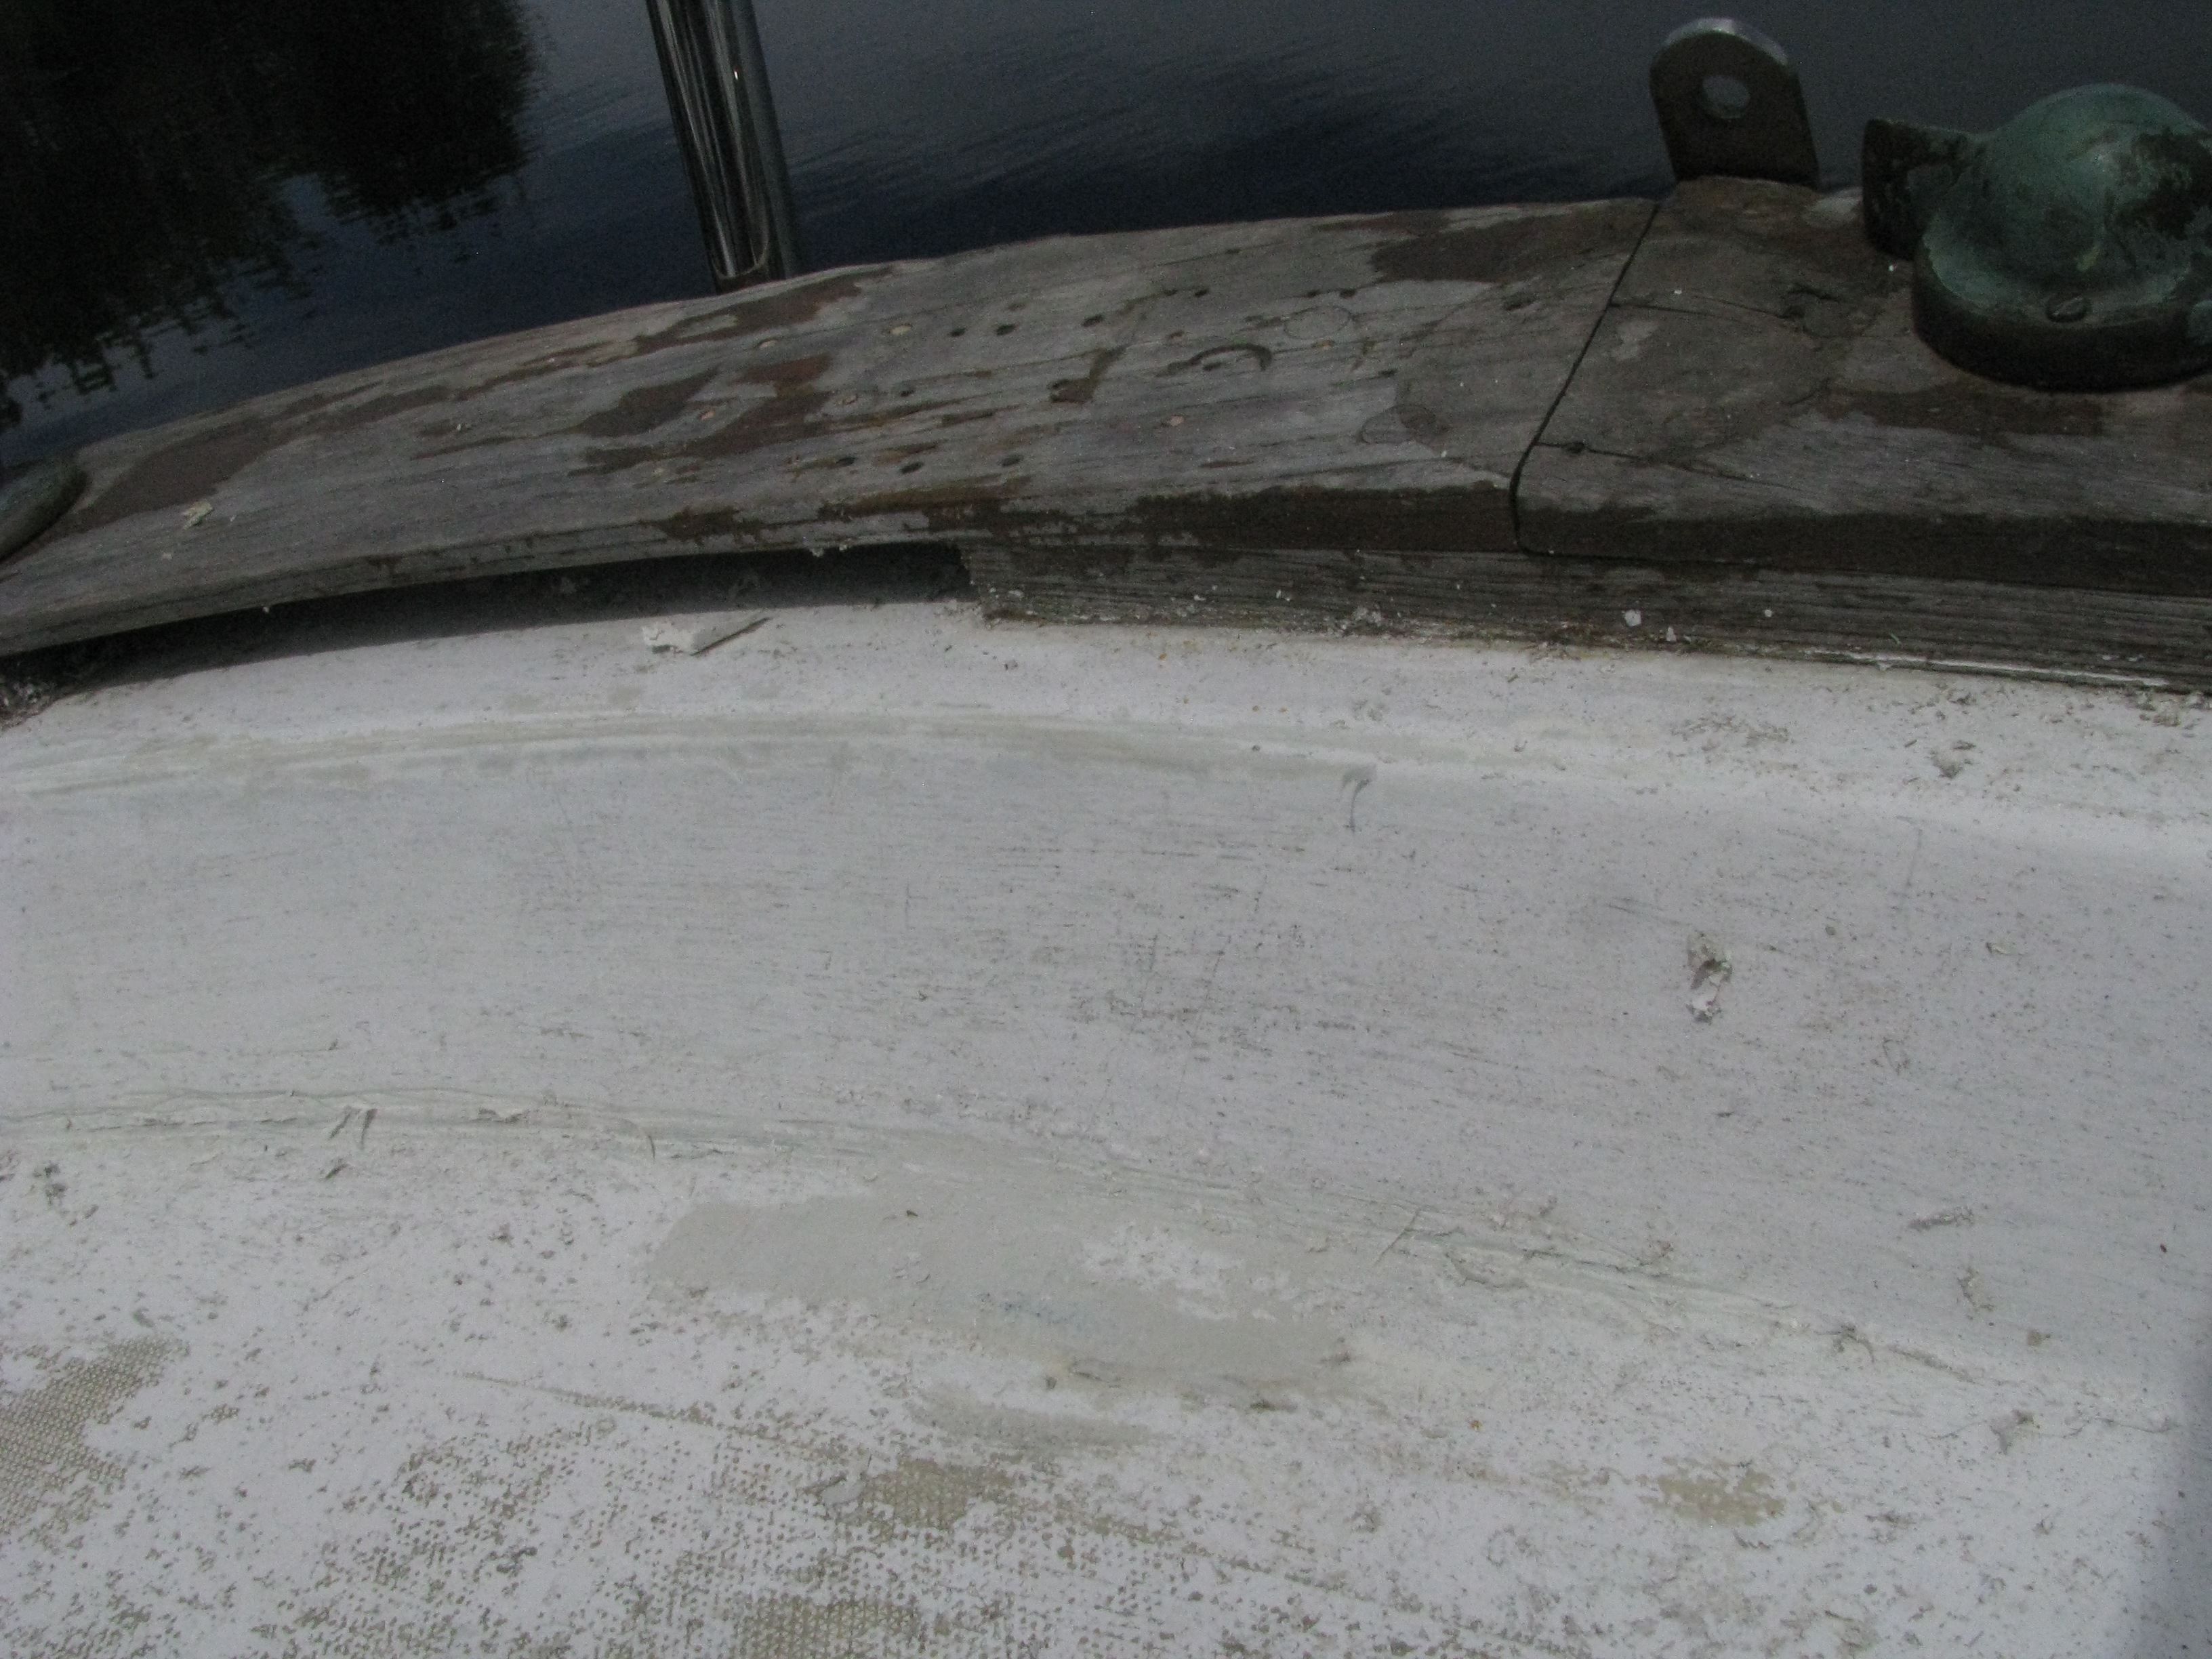
But the many, many, many coats of paint had to be removed.
 What a mess. What a pleasant project to do on one of the most spectacularly beautiful days of the summer.
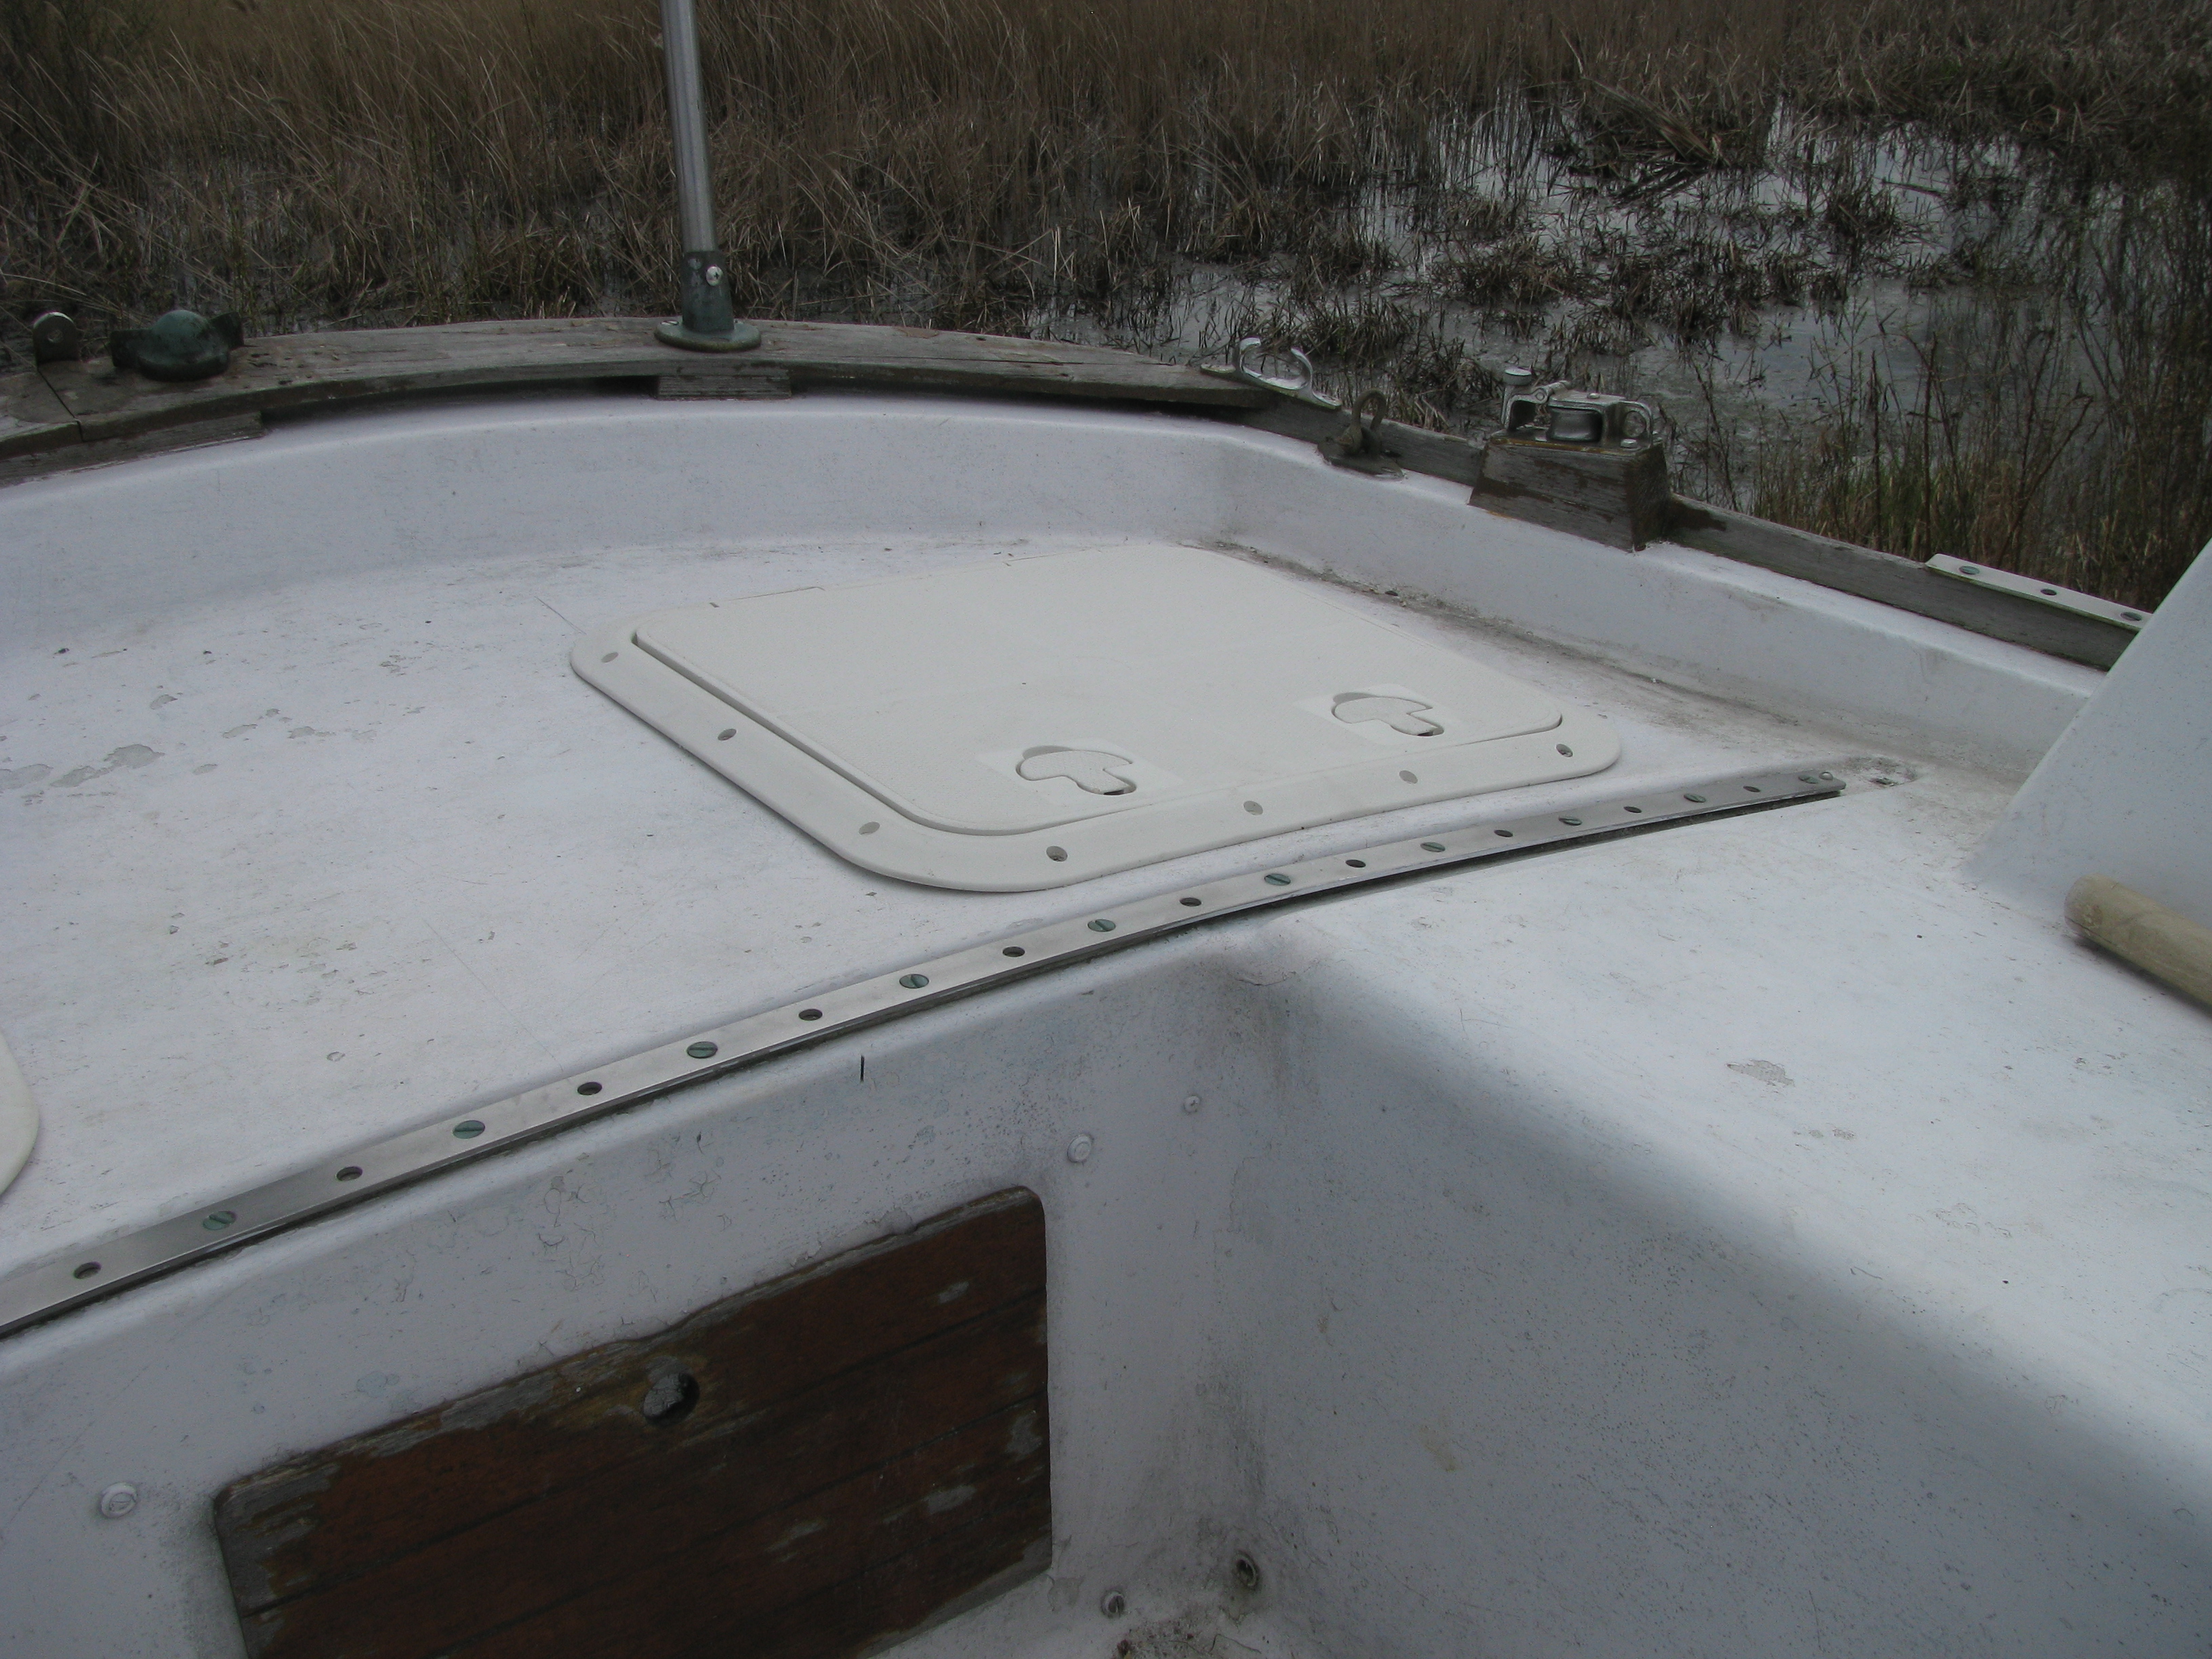
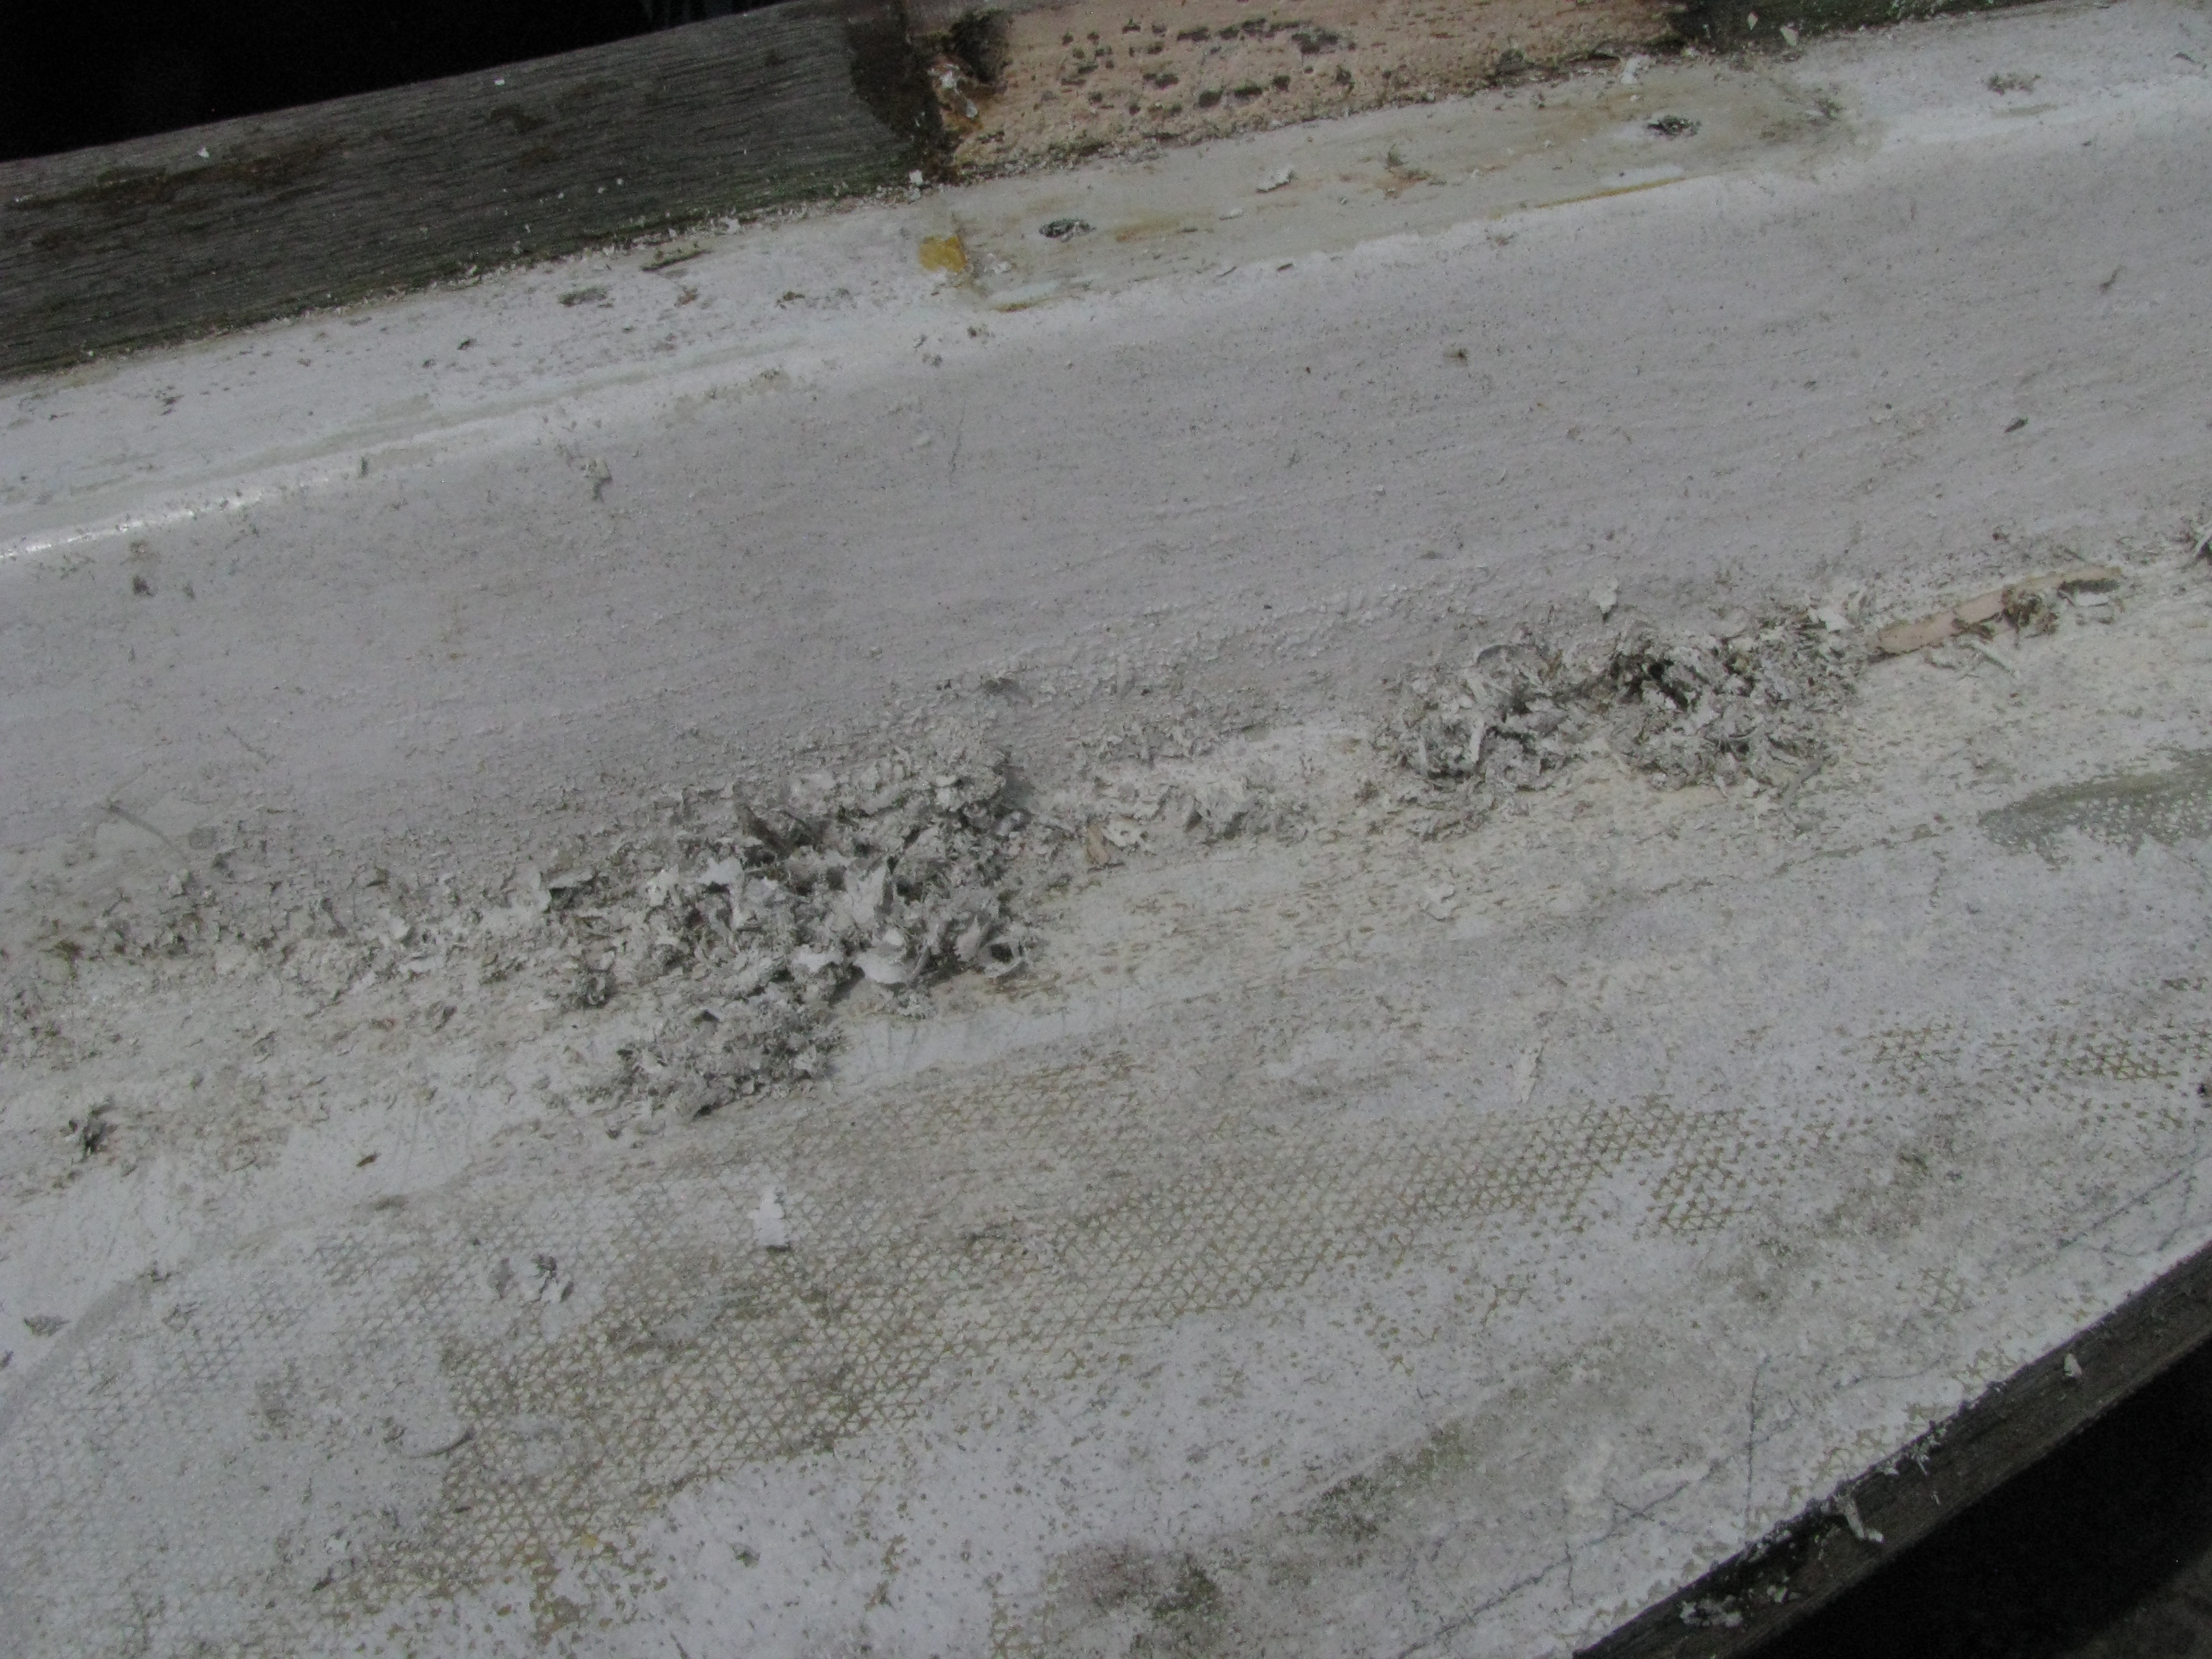
Armed with plenty of cold drinks in my Engle and some Aircraft Fiberglass stripper, I made two applications and removed many layers of paint.
Surprise, surprise! There is actually non-skid underneath all of that goop – the kind that is embossed into the fiberglass at the time the hull was built.
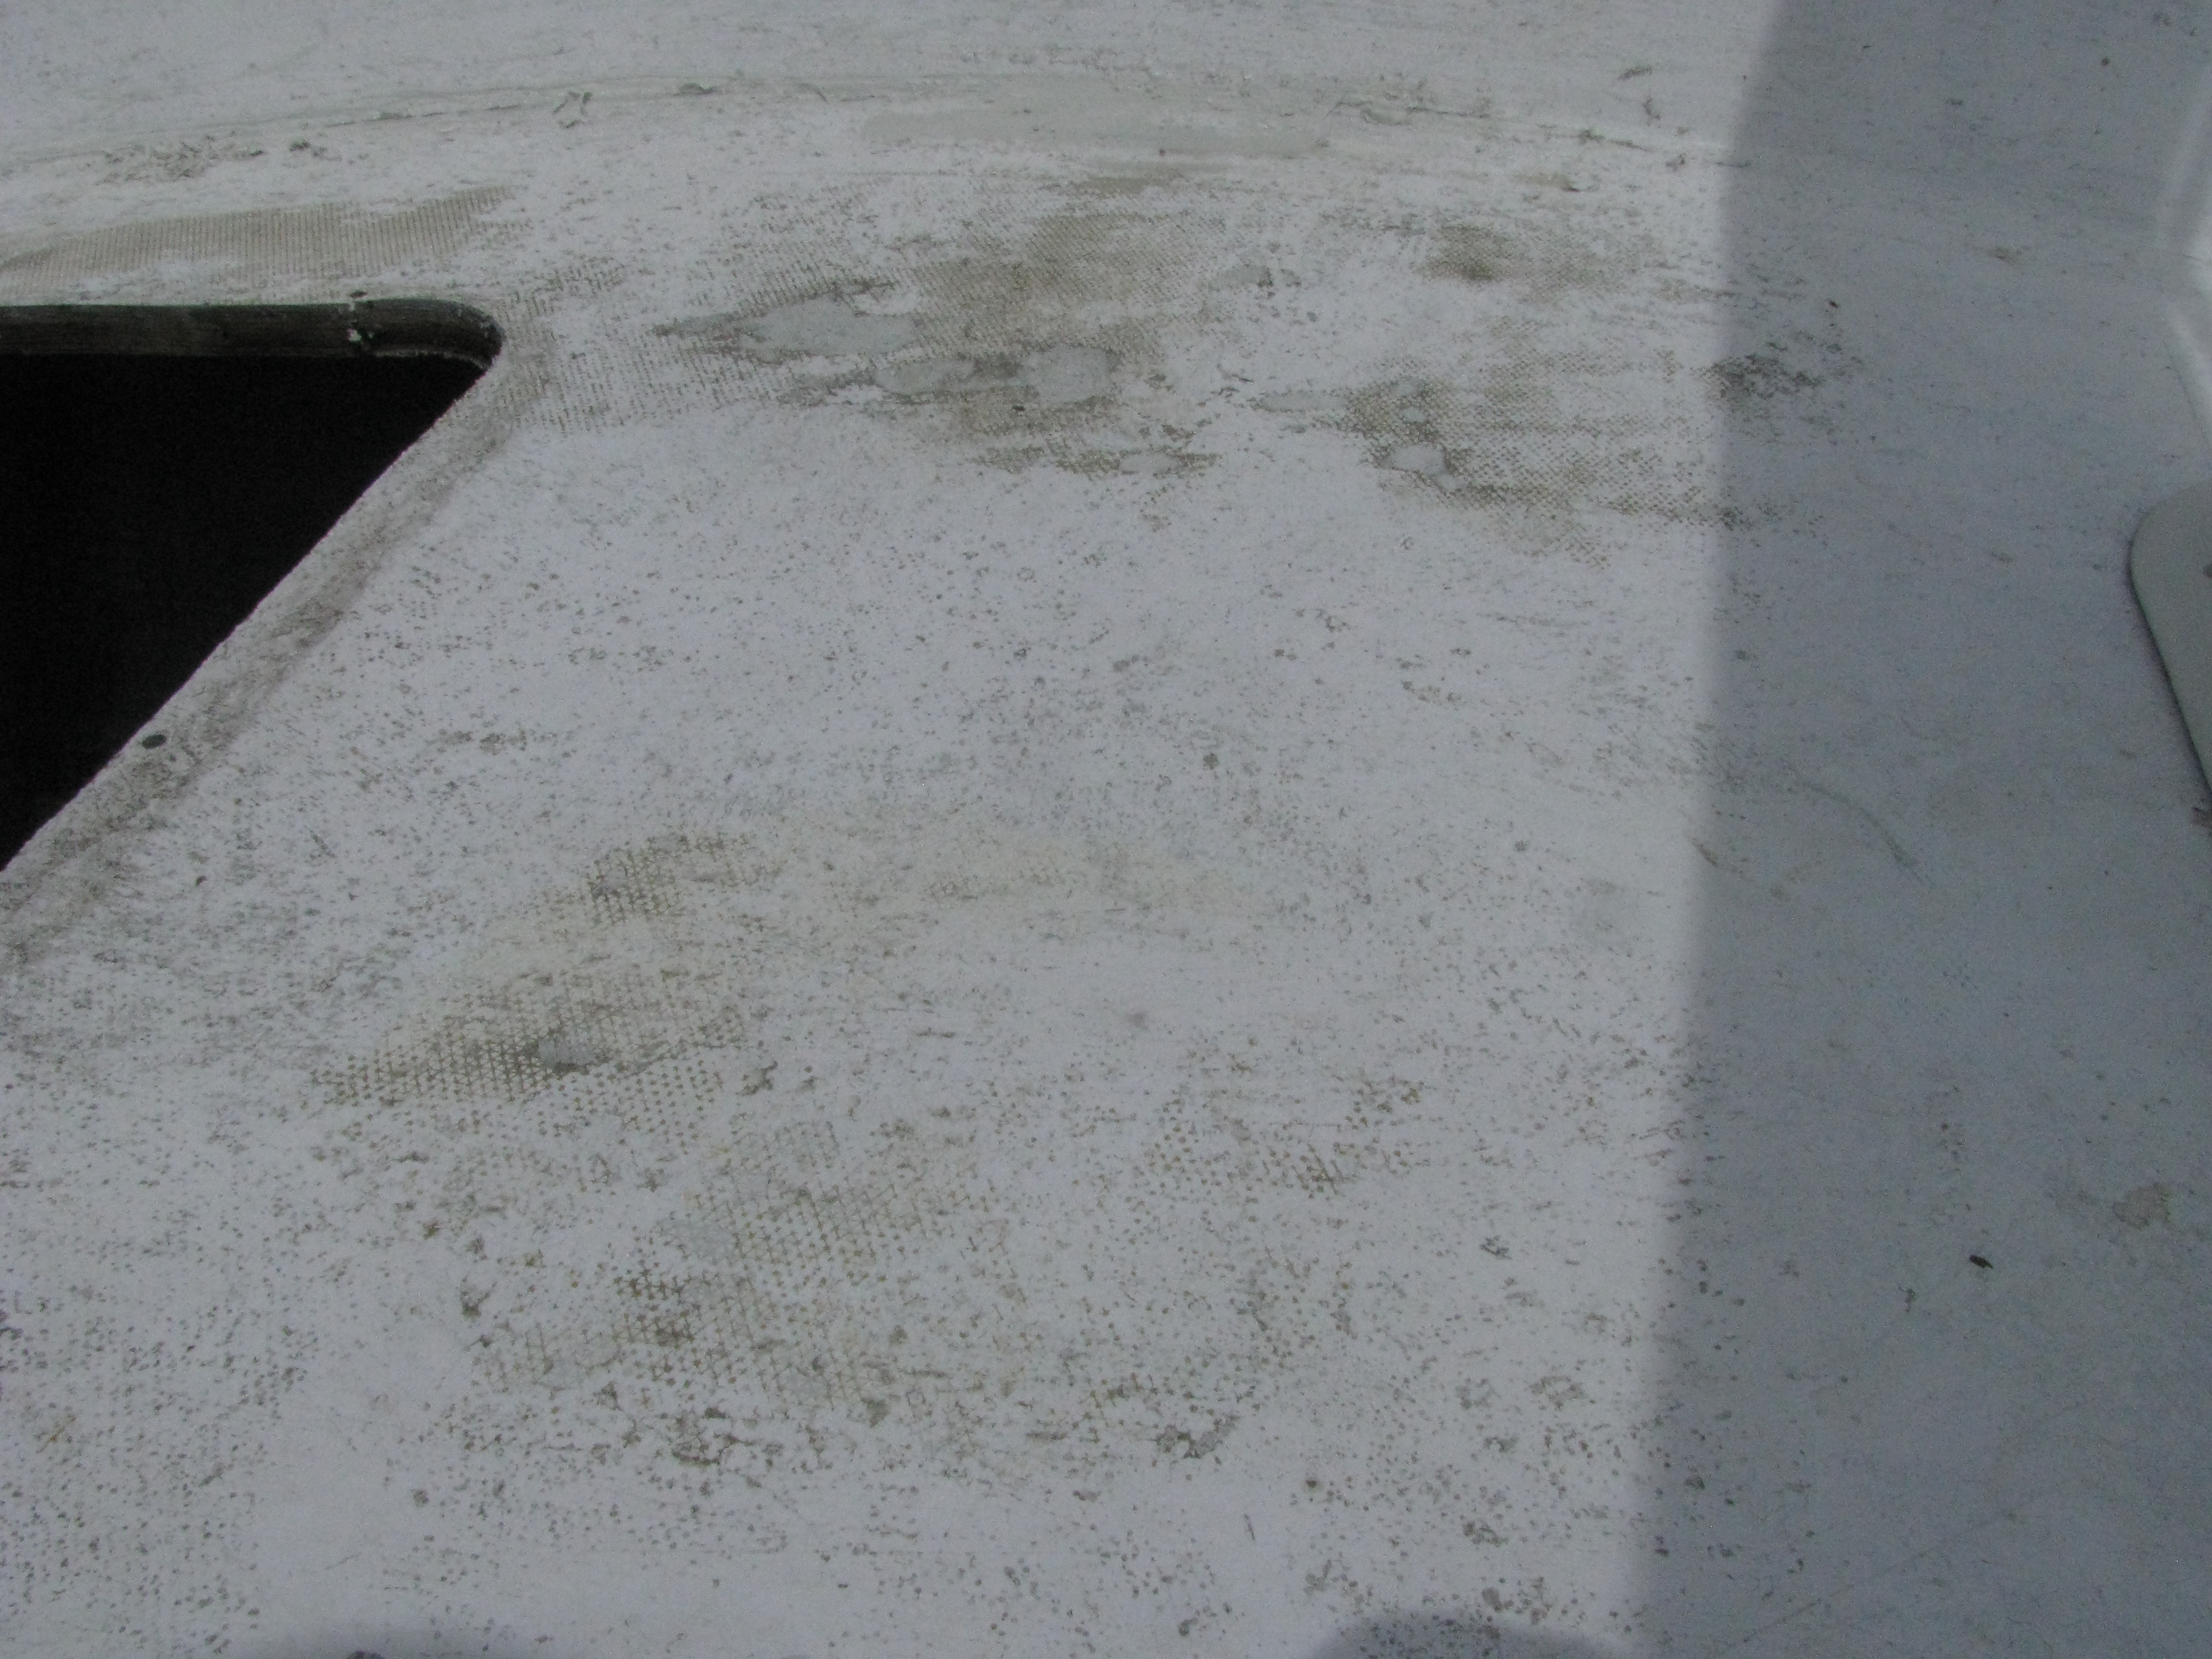
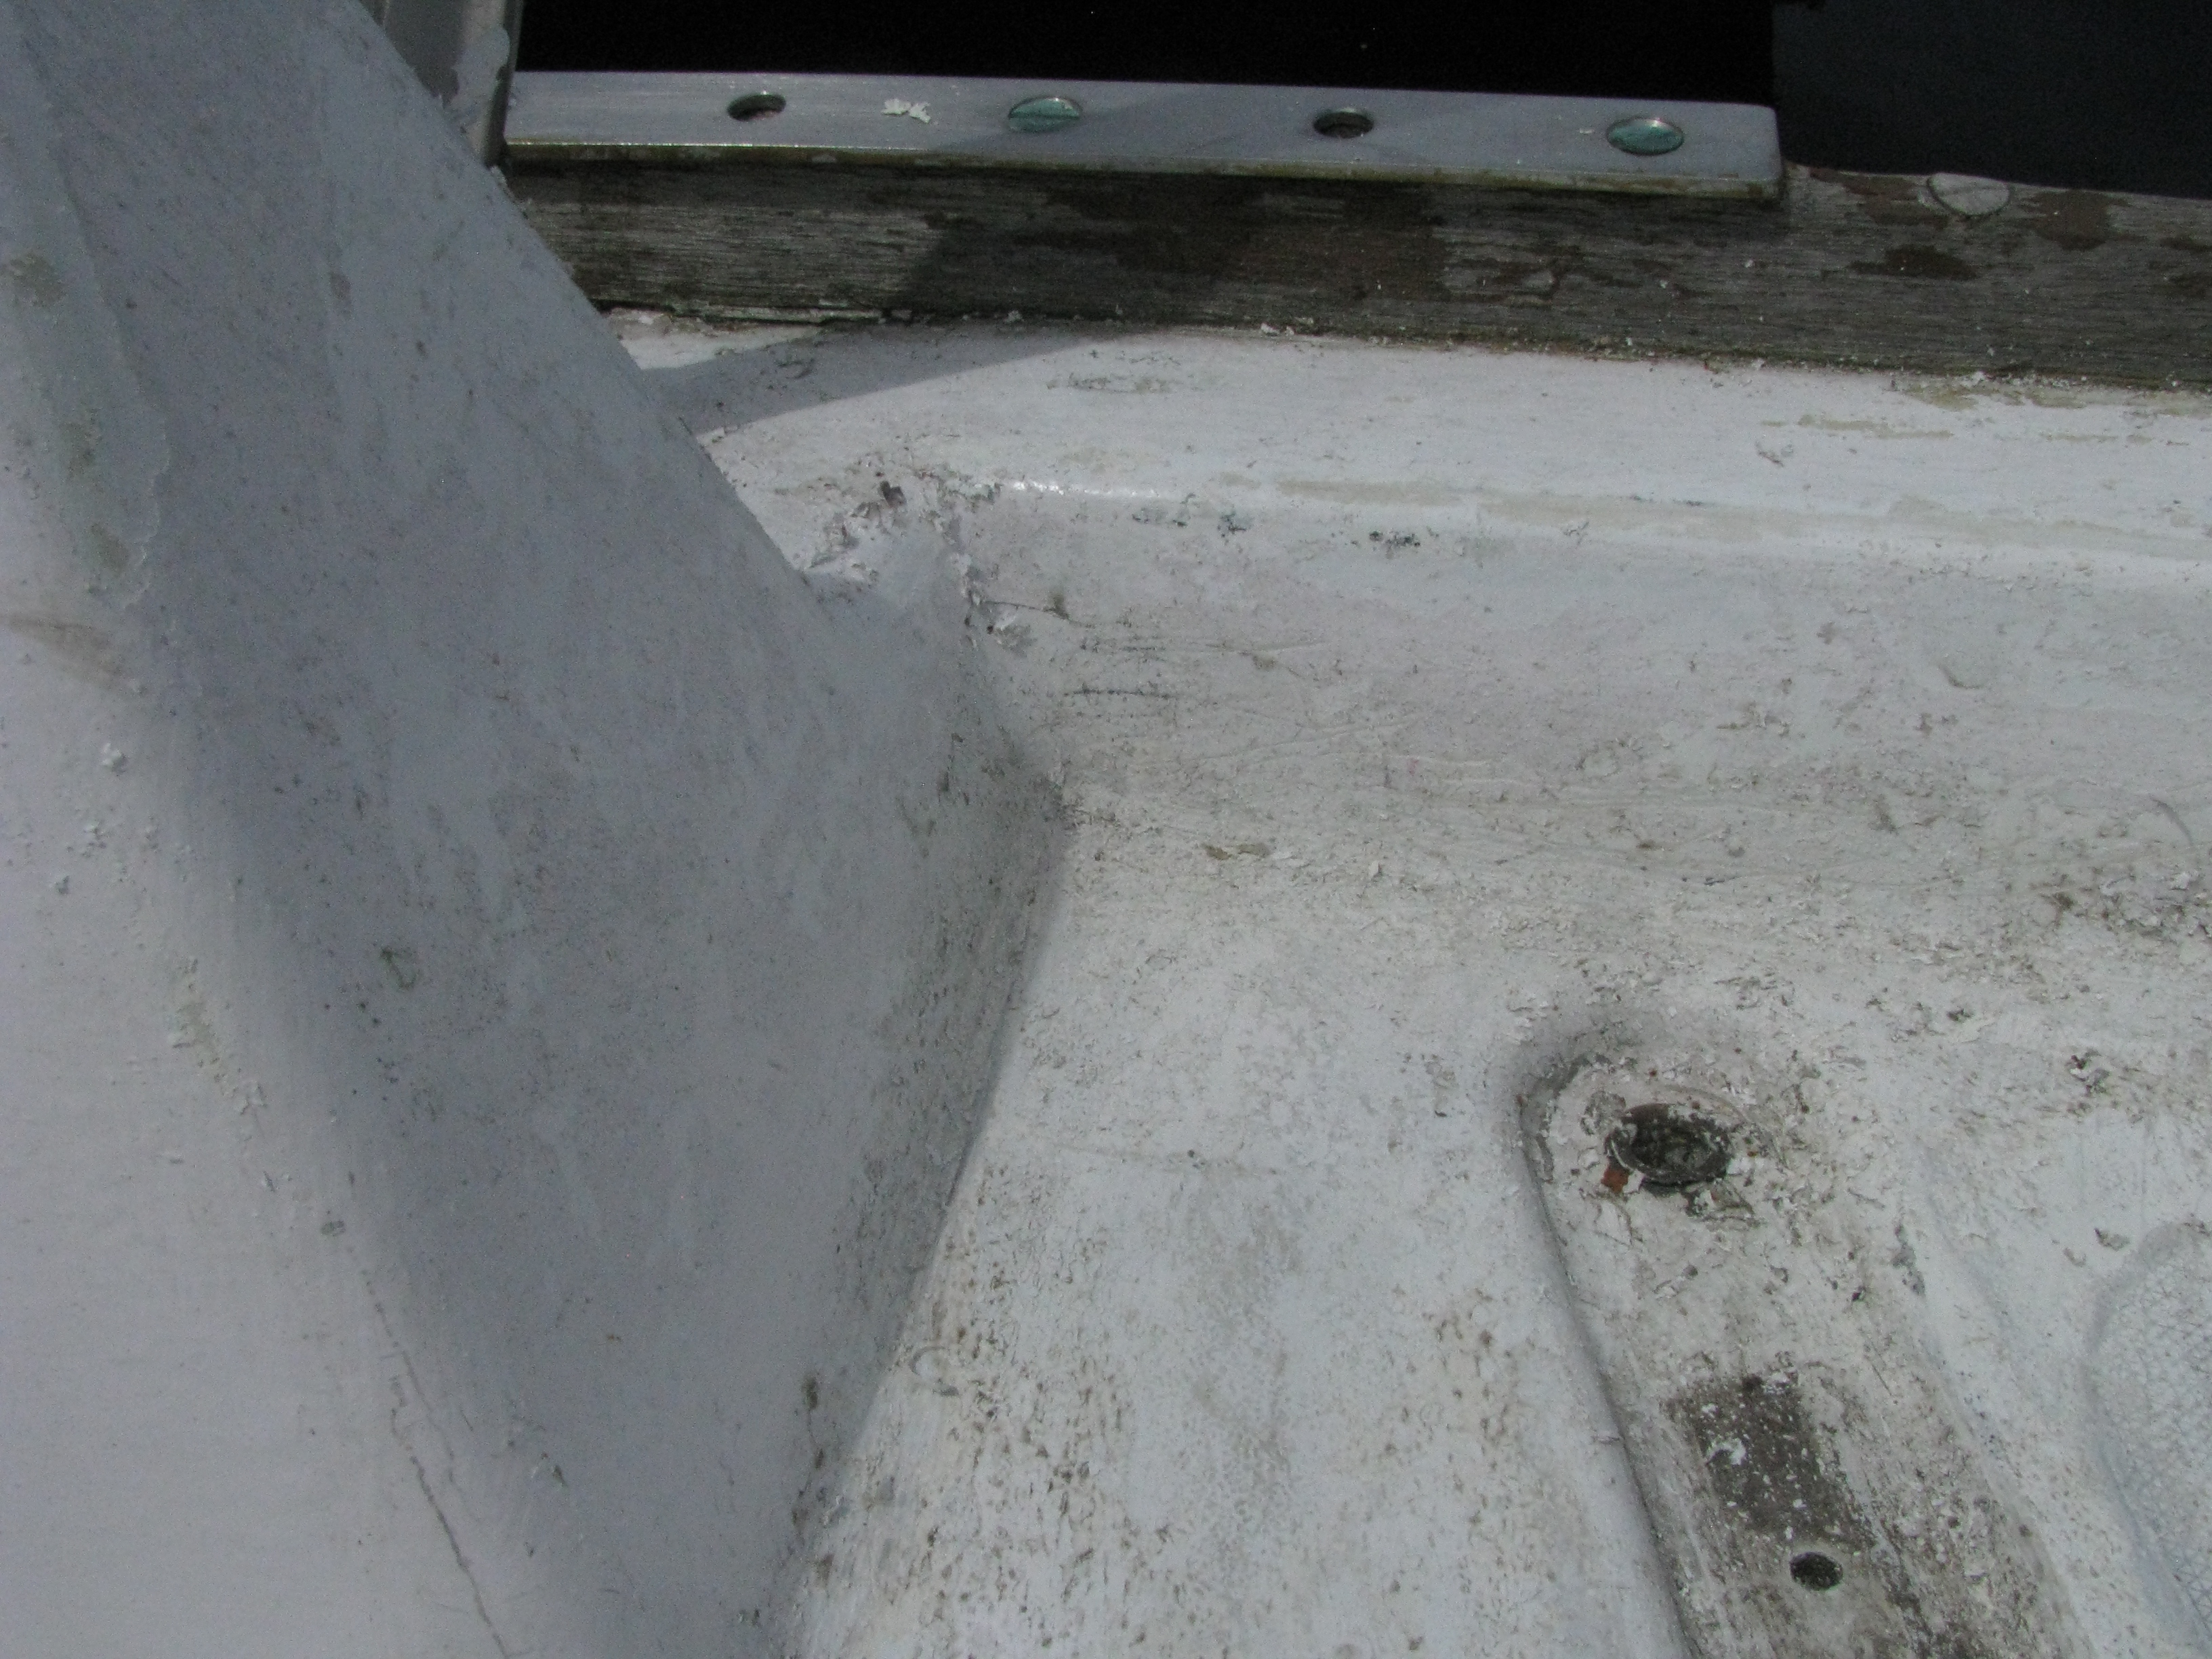
Doing the whole topside will be a very labor intensive and messy project, but I can already picture who beautiful the old girl will be. I’m eager to sand the smooth area and get the first coat of EZPoxy (one part for base coat) on so it can be taped off for application of KiwiGrip in the non-skid area. Then, the hatches can be permanently installed. I think I’ll make some snap on Sunbrella colors for both of these to make a really weathertight afterdeck under the cusom cushions that are plnned.